
How to Size a Hay Tarp for Round Bale Stacks
Most hay tarps that fail were the wrong size before they were ever tied down. Sizing is not the bale count and it is not the stack footprint — it is the footprint plus the drop you need on each side plus hem allowance, and getting that arithmetic wrong costs more than any fabric upgrade can recover.

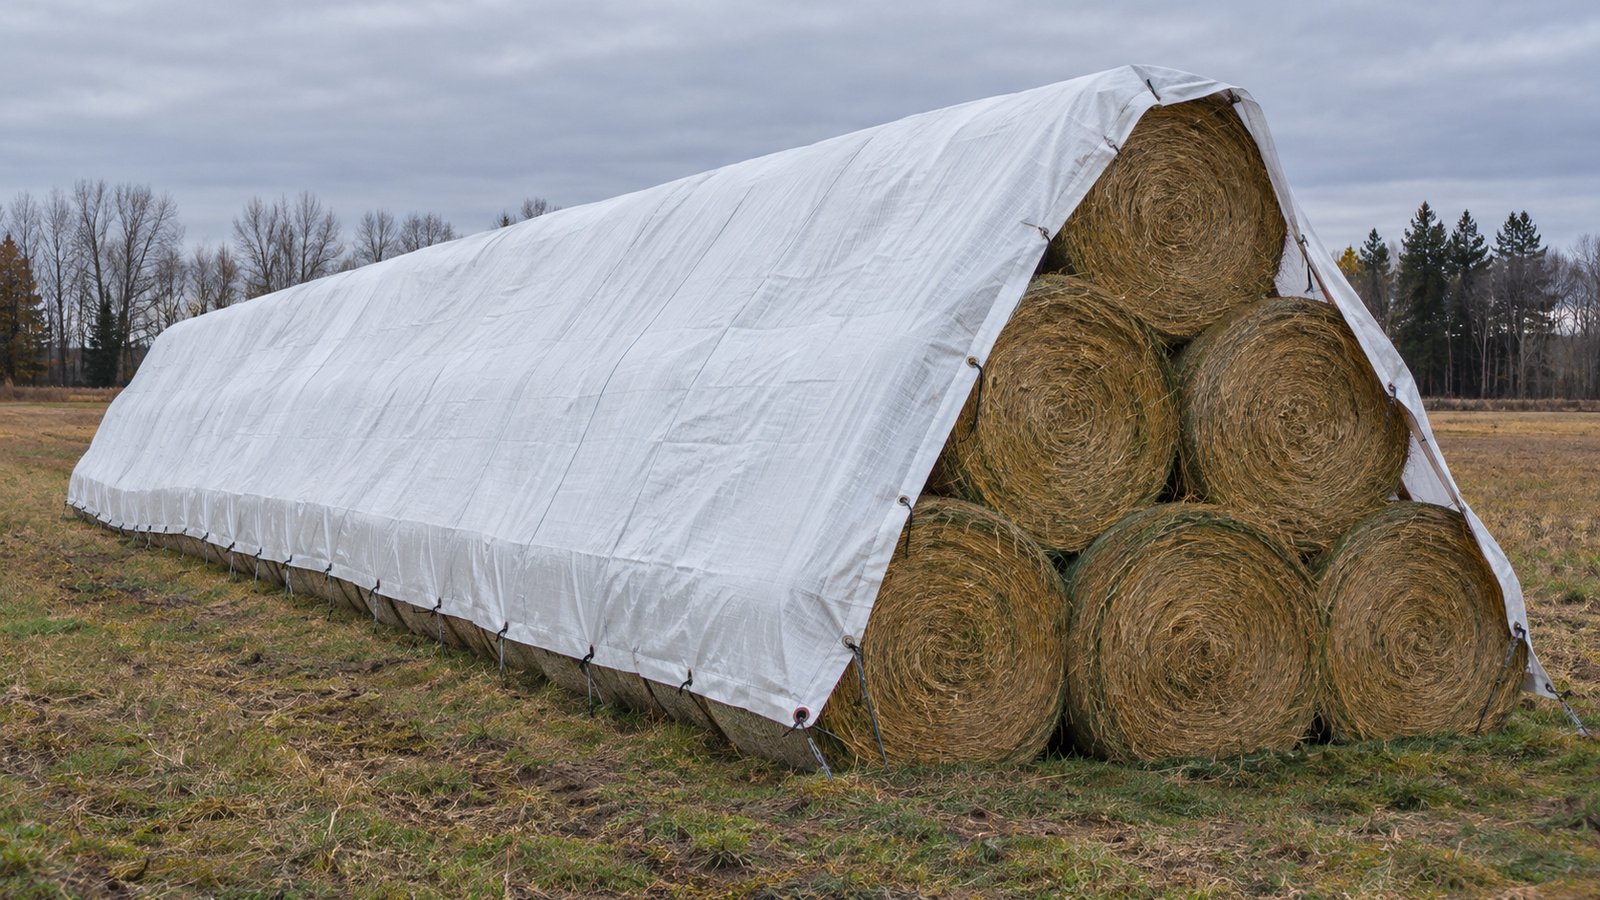
Most hay tarps that fail were the wrong size before they were ever tied down. The fabric gets blamed, because the fabric is what tore — but a cover that is two metres short has to be stretched to reach its anchors, and a stretched cover concentrates every wind load into the grommets at the corners.
This is the arithmetic, and the reasoning behind each number.
Size from the stack, not from the bales
Bale count tells you nothing useful. Twenty round bales in a single long row and twenty in a two-high pyramid need completely different covers. What matters is the stack as a shape: how long, how wide, how tall, and whether the top is crowned or flat.
Measure the stack as it will actually sit, after it has settled. Hay settles noticeably in the first week or two, and a cover sized to a freshly built stack will be slack by the time it matters.
The formula
For each dimension:
Flat tarp dimension = stack dimension + (2 × side drop) + (2 × 30 cm hem allowance)
So a stack 12 m long and 6 m wide, with 1.2 m of drop wanted on each side:
- Length: 12 + (2 × 1.2) + 0.6 = 15.0 m
- Width: 6 + (2 × 1.2) + 0.6 = 9.0 m
That hem allowance is not padding. It is the material the hem is folded from and the grommets are set through, and it is consumed entirely by construction. If you order 12 × 6 for a 12 × 6 stack, you get a cover that sits on top of the stack and nothing else.
Add for the crown
A crowned stack is taller in the middle, and the cover has to travel over that extra height. For a modest crown of one bale, add roughly the crown height to the width dimension. For a steeply pitched stack, measure over the top with a tape rather than calculating it.
How much drop do you actually need?
Drop is the distance the cover comes down the sides. It is the number buyers most often get wrong, in both directions.
| Drop per side | What it gets you | When it is right |
|---|---|---|
| 0.5 m | Top cover only — shoulders exposed | Sheltered yard, short-term storage |
| 1.0–1.5 m | Top and shoulders, down to the second course | The usual answer for overwintering |
| 2.0 m+ | Approaching full coverage | Rarely correct — see below |
Under 1 m and wind-driven rain gets in under the edge and runs down the inside face of the stack, which is worse than no cover on that face because the water is now trapped. Over about 1.5 m and you start running into the opposite problem.
Why you do not cover to the ground
Hay gives off moisture. So does the ground underneath it. If the cover reaches the ground on all four sides, that moisture has nowhere to go: it rises, hits the cool underside of the cover overnight, condenses, and drips back onto the bales.
Growers who tarp right to the ground routinely find the bottom courses in worse condition than if the stack had been left open. The hay did not get wet from outside — it got wet from its own moisture, recirculating.
So: leave the bottom course or two uncovered. Stack on pallets, poles or gravel rather than directly on soil. Keep the cover edge clear of the ground on every side. The drop figures above stop short of ground level deliberately.
Crown the stack before you buy anything
A flat-topped stack ponds water. Water sitting in a low spot works at the weave and the seams continuously, and it finds any weakness there is. A crowned stack sheds to the sides and keeps working.
Crowning costs nothing. One extra bale along the ridge changes the geometry enough to matter. If you only take one thing from this page, take that one — it does more for the hay than any fabric upgrade available.
Worked examples
| Stack | Drop | Tarp size |
|---|---|---|
| Single row round bales, 6 × 4 m | 1.0 m | 8.6 × 6.6 m |
| Long single row, 12 × 4 m | 1.0 m | 14.6 × 6.6 m |
| Double row pyramid, 12 × 6 m | 1.2 m | 15.0 × 9.0 m |
| Large square bale stack, 18 × 8 m | 1.5 m | 21.6 × 11.6 m |
Round up, never down
If your calculation lands between two sizes, take the larger one. Surplus material can be folded under at the hem and tied through from there. A short cover cannot be made longer, and stretching it to reach the anchors is precisely the condition that tears grommets out of corners.
Send us your stack dimensions, how you stack, and how exposed the site is, and we will work the size with you rather than pointing you at a chart.